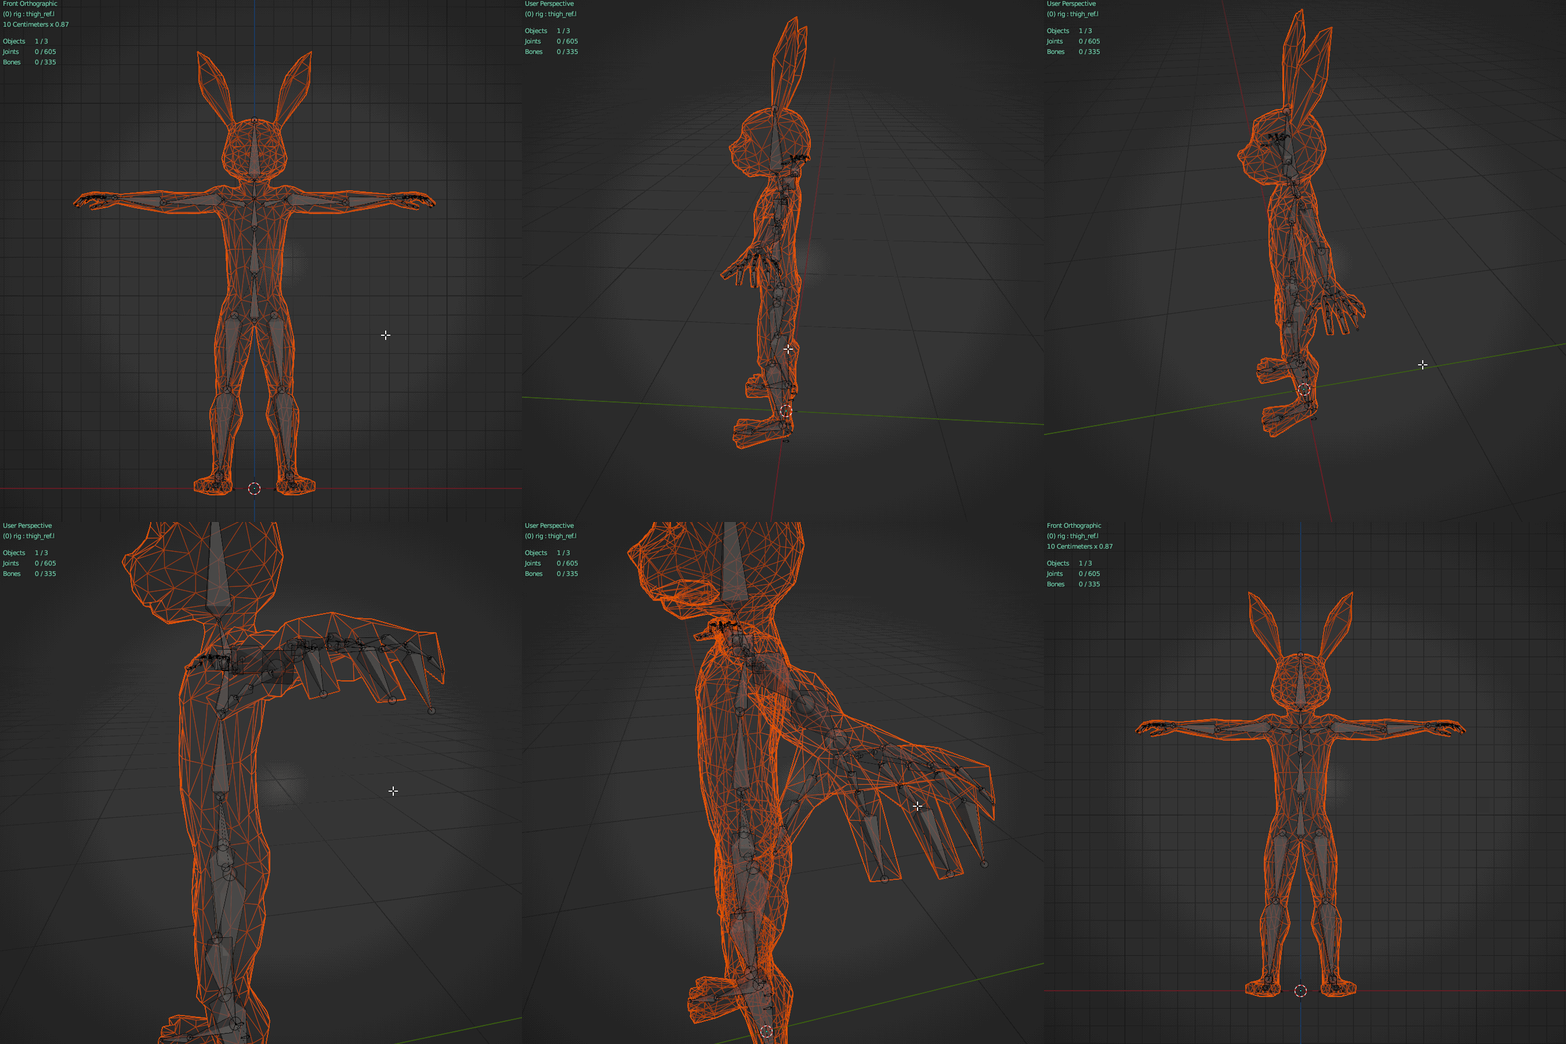
Pre-Rigging Requirements:
- Character Pose: Ensure the character is in T-Pose.
- Knee Position: Slight bend in the knees, facing slightly outwards.
- Arm Position: Slight bend in the arms.
Note: If the model provided by the 3D artist isn’t in T-Pose please request a version of it, and address the necessary changes before starting to work on the rigging files.
Setup Instructions
- Initial setup: As shown in the image below, the initial setup is crucial. Ensure that the character’s feet are positioned at 0,0,0 and apply all deltas, transforms, rotation, and location adjustments to the model. This step helps prevent potential scale and root motion issues later on.
.png)
- ARP Settings: In the Side panel, select the ARP (AutoRigPro Tab) to start creating the base armature. There are some presets you can load them in, but in this case, we would use the ARP:SMART functionality to generate the necessary files and references. Note: If SMART select isn’t working, please use the Human type to generate the necessary references and start working from there.
.png)
- Choose Rig Type: There are two features you can add at this stage, either a full-body rig system or a facial-only rig. Let’s go ahead and select Fully Body rig.
.png)
- Select the Human Base Model: Choose the Human type from the quick base model options.
.png)
- Adjust Editable Parts: Some of the parts would need to be editable before the rig is fully adjusted to our needs.
.png)
- Edit Reference Bones: Click on the button “Edit Reference Bones” to modify each bone set individually.
.png)
- Enable X Symmetry: On the setting menu ensure X Symmetry is ON before moving any bones.
.png)
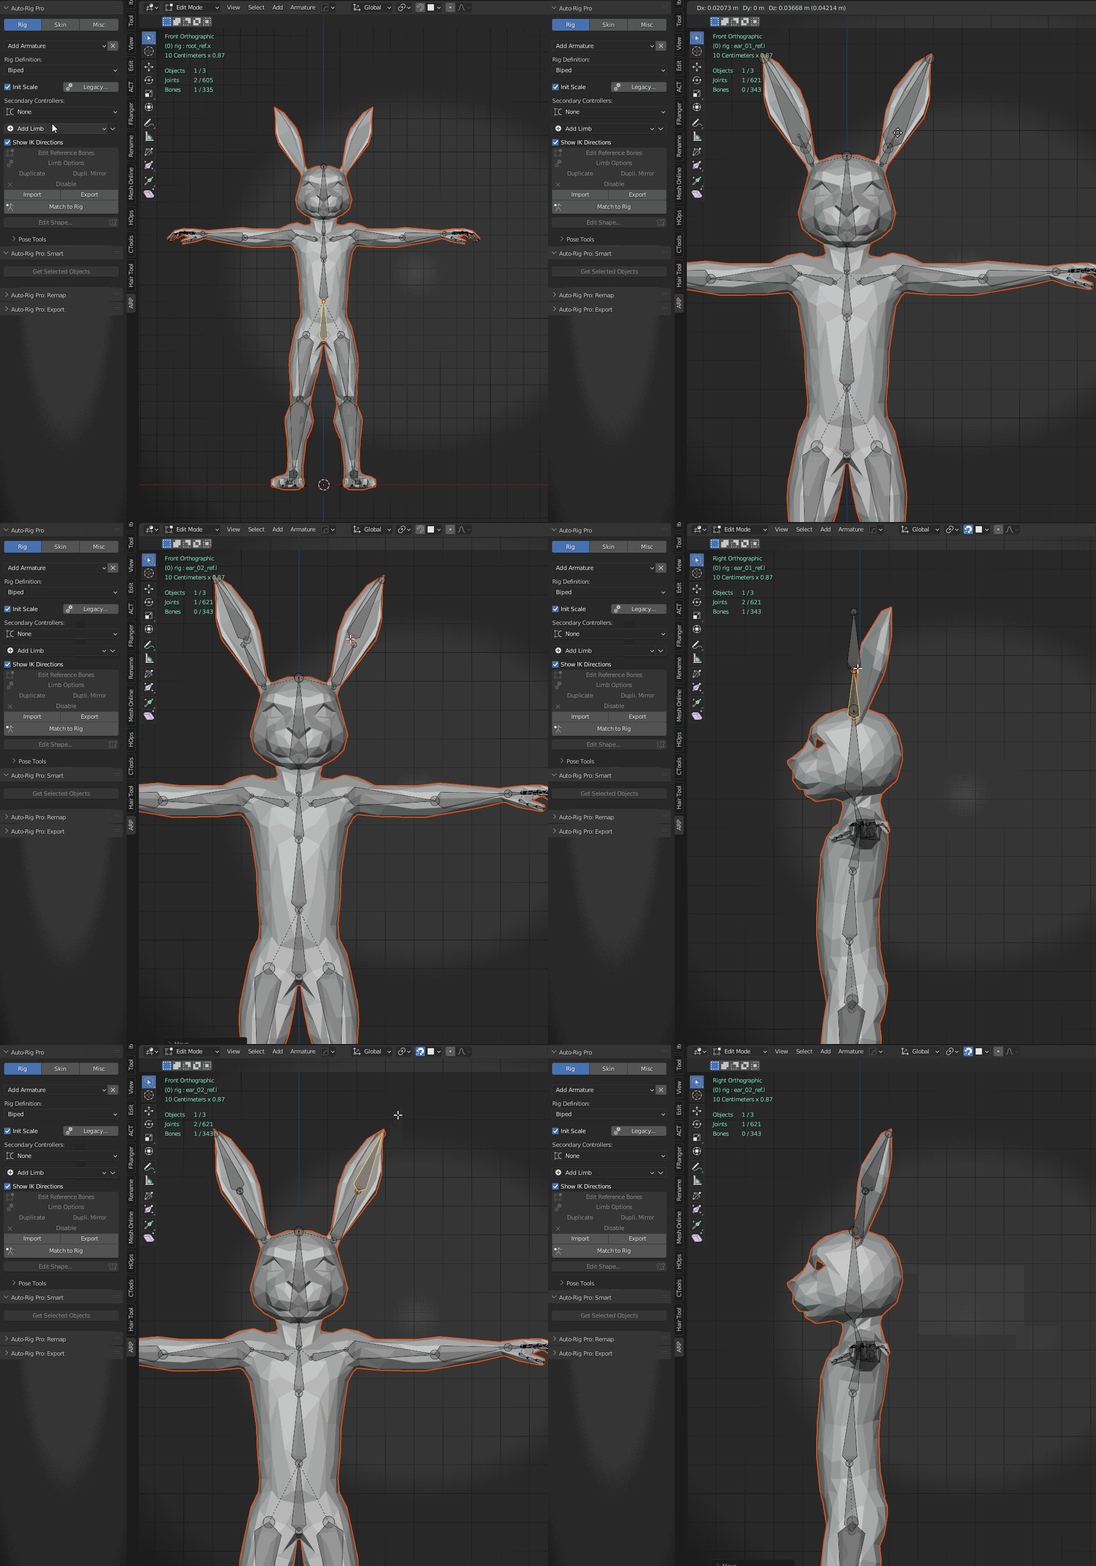
- Position Bones: Move each bone to its designated position on the character rig. Regenerate the necessary references after properly adjusting.
.png)
- Verify Alignment: Once all bones are aligned with the character model, as shown, you can move on to extra features.

- Add Additional Elements: Add optional features, such tails, more arms, wings, bendy bones etc.

- Generate Control Rigs: After completing the reference bones, press Generate to add the necessary control rigs. You may edit each shape to adjust it to any other mesh. This is purely visual but helps to have a cleaner file.

.png)
- Bind Mesh and Rig: On the RIG tab, select the mesh and then + SHIFT select the RIG to apply the proper binding.
.png)
- Finalize Skin Weights and Layers: Finalize any skin weights tweaks, and make sure you set your bones on layer 31, as this the actual DEFORMATION bones that allow the character to move, and data that gets exported outside of Blender.
Note: Layer #1 is our Rig control layer.
.png)
- Confirm Final Adjustments: Final rig with all deformations adjusted, and minor skin weight tweaks your rigging process is complete. The skin process is automated, this of course will depend on each specific asset, model and need.

