Installation and Setup
Install UBF Studio from the Asset Creator Pack. In the pack, you will find the latest available version of UBF Studio and UBF Previewer for both Windows and Mac.Windows
Windows
- Download the
.exefile (e.g.,ubf-studio_#.#.#.exe). - Once the download is complete, run the
.exefile and follow the on-screen instructions to complete the installation.
Mac
Mac
- Download the
.dmgfile (e.g.,ubf-studio_#.#.#.dmg). - Open the
.dmgfile and drag UBF Studio into your Applications folder.
Welcome to UBF Studio
When you first launch UBF Studio, you are greeted by the Welcome Screen, the starting point of your journey in creating and managing UBF content. From this screen, you have two primary options: Create a New Project or Open an Existing Project. Additionally, for convenience, a list of recently opened projects appears, allowing you to quickly resume work without manually locating project directories.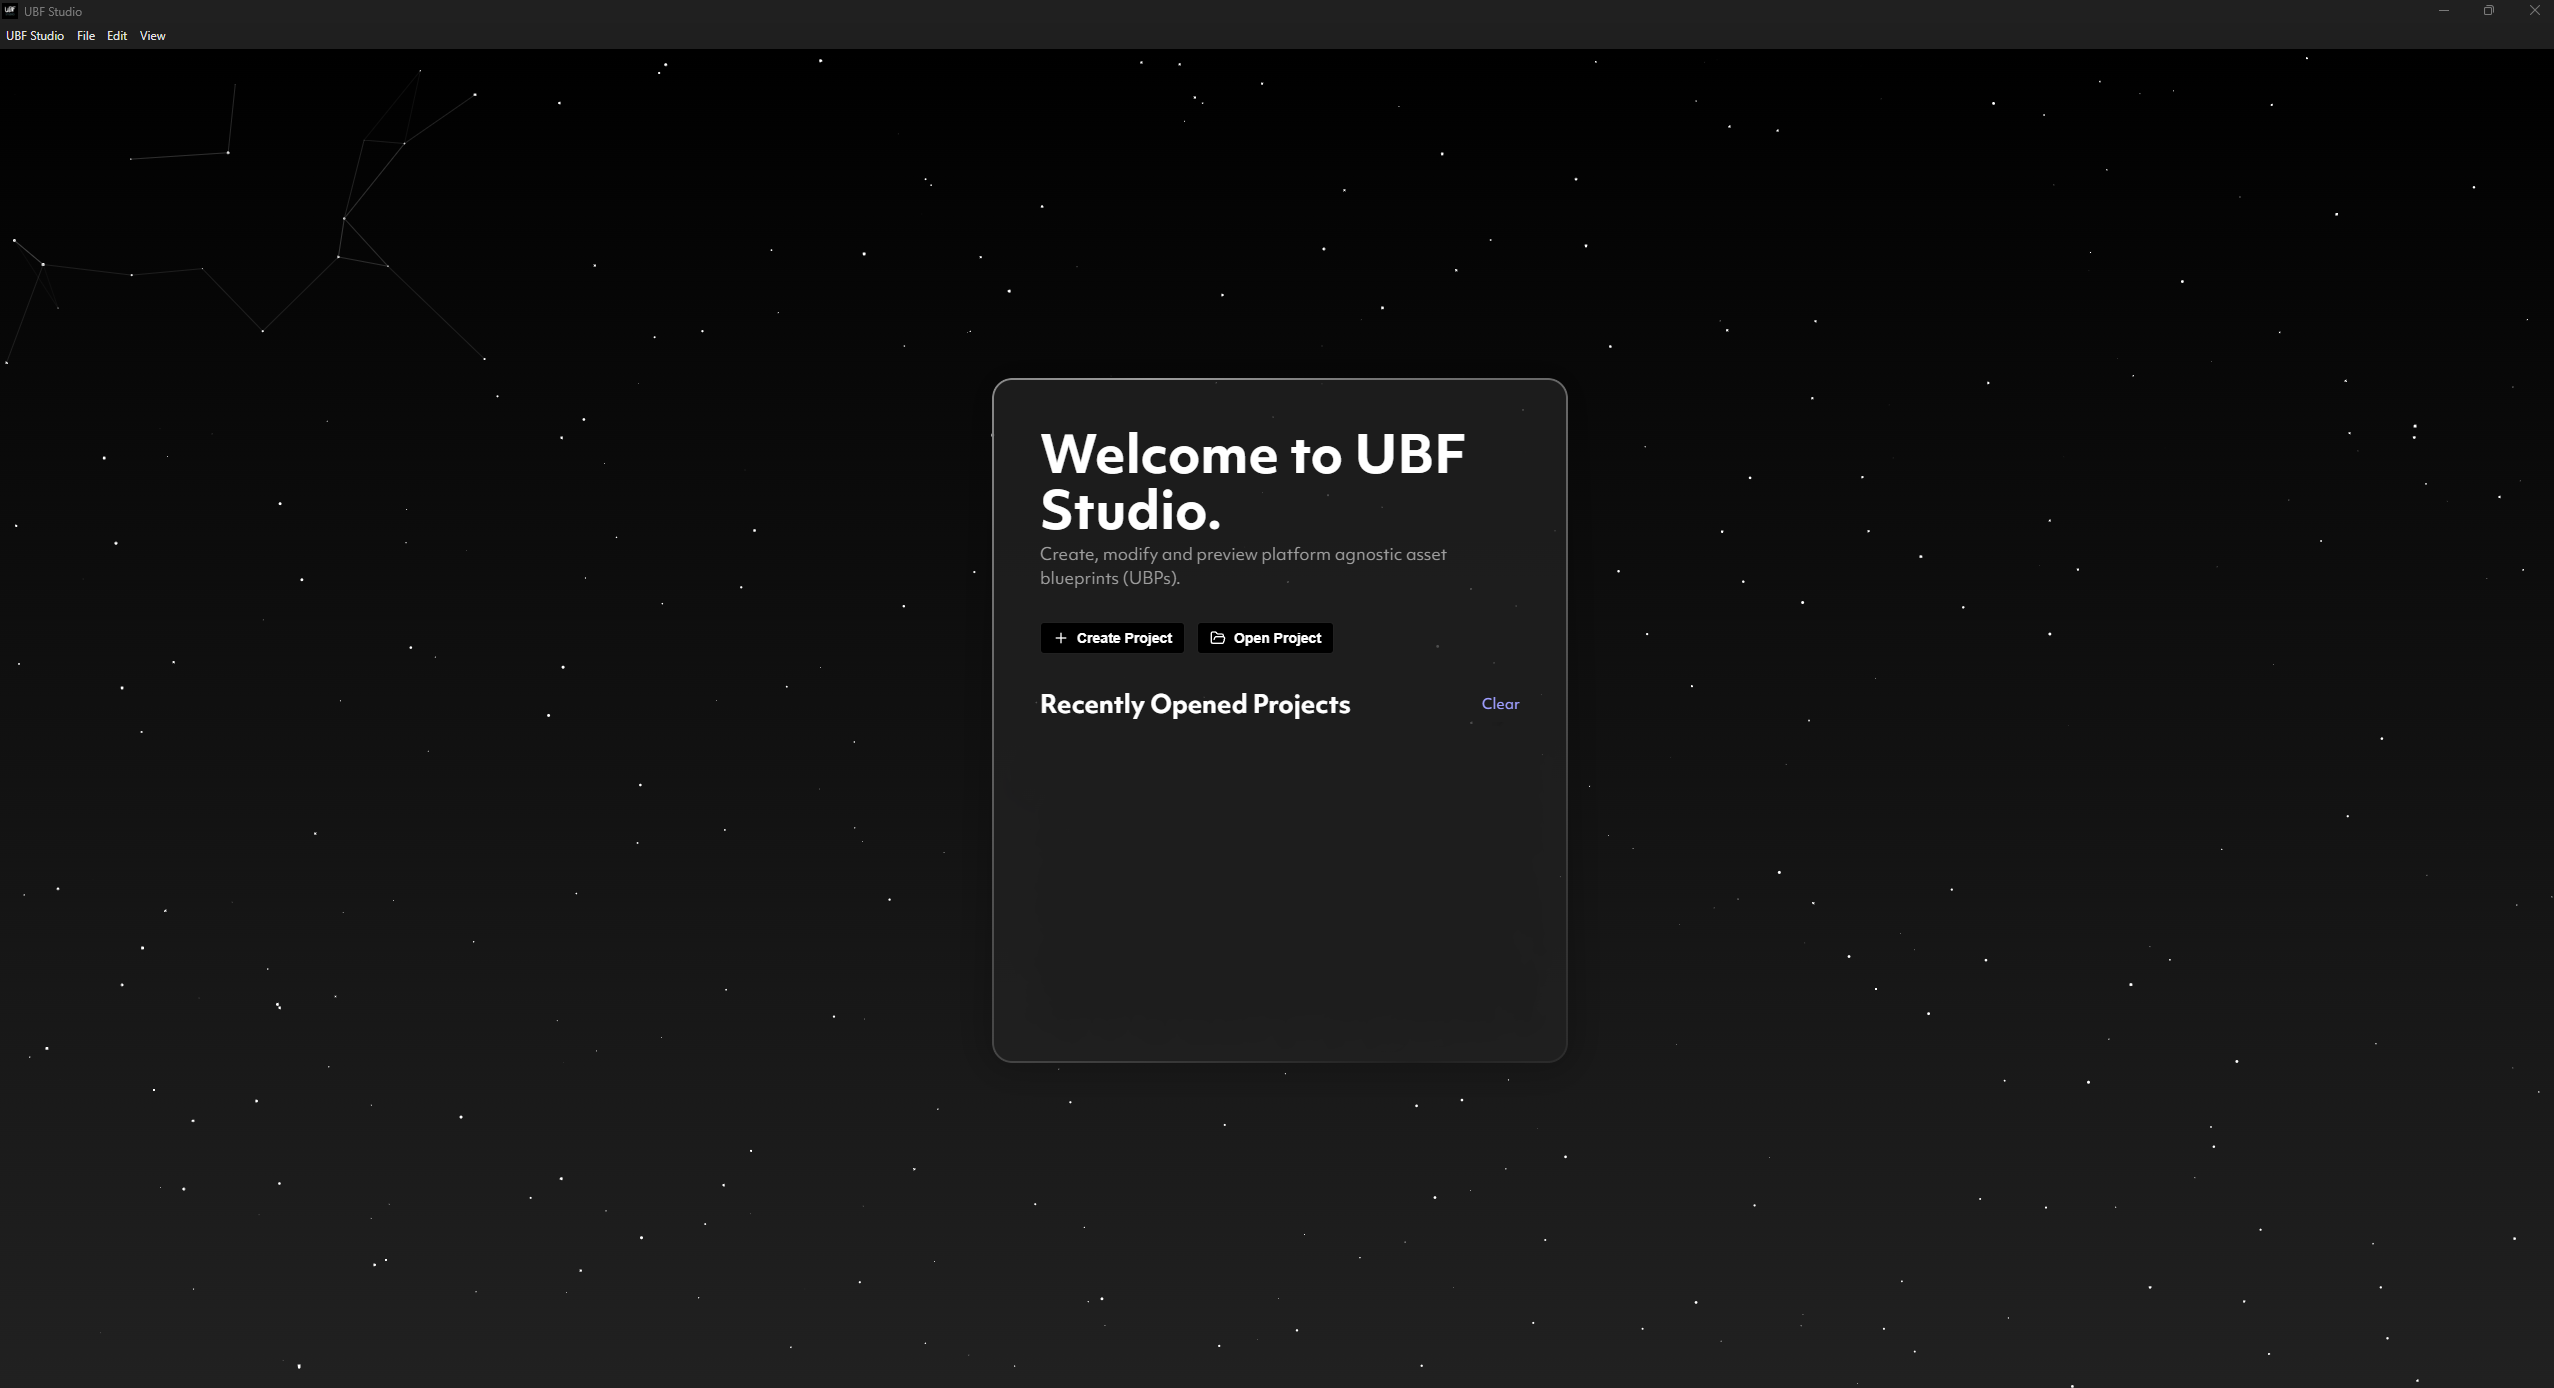
Creating a New Project
Selecting Create New Project prompts you to choose a folder location on your local drive where your UBF Project will be created. This folder will serve as the root directory for your project, containing all Blueprints, Blueprint Instances, Resources, and associated metadata. Once the project is created, UBF Studio will automatically generate the necessary internal structures, allowing you to begin working immediately.Opening an Existing Project
If you already have a UBF Project, selecting Open Project allows you to navigate to its root directory and load it into UBF Studio. Once loaded, all project files, dependencies, and references will be accessible within the Studio interface, letting you continue where you left off.The Project Explorer
The Project Explorer in UBF Studio serves as the centralized file management system for your project, allowing you to navigate, organize, and access all your project assets. This interface functions similarly to the Project Explorer in Unity or the Content Browser in Unreal Engine, providing a structured workspace to efficiently manage your files.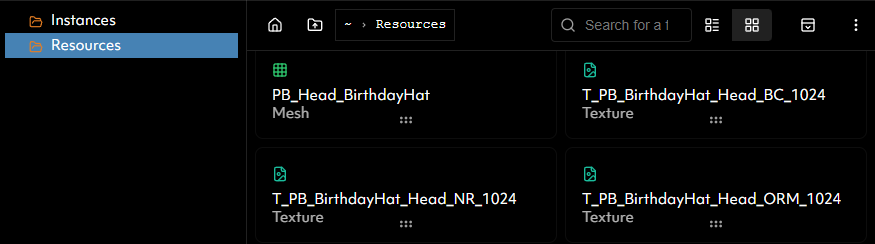
Top Panel Controls
At the top of the Project Explorer, you will find a set of controls that enhance navigation and usability—from left to right, these are:- Jump to Root Folder – Instantly returns you to the root directory of your project.
- Navigate Up a Folder – Moves up one level in the project hierarchy.
- Search Bar – Enables searching for specific files by name, making it easy to locate assets in large projects.
- View Mode Toggle – Switches between different file display modes, such as list view for compact file browsing or grid view for a more visual representation of assets.
- Hide Project Explorer – Collapses the Project Explorer panel to maximize workspace, particularly useful when focusing on editing Blueprints or other assets.
The Blueprint Editor Tab
The Blueprint Editor Tab is the primary interface for constructing UBF Blueprints. It allows users to visually define the logic and structure of Blueprints by arranging functional nodes and connecting them into an execution flow. The Blueprint Editor is composed of three distinct sections:- Blueprint Viewport (Blue)
- Viewport Controls Section (Yellow)
- Blueprint Inspector (Green)
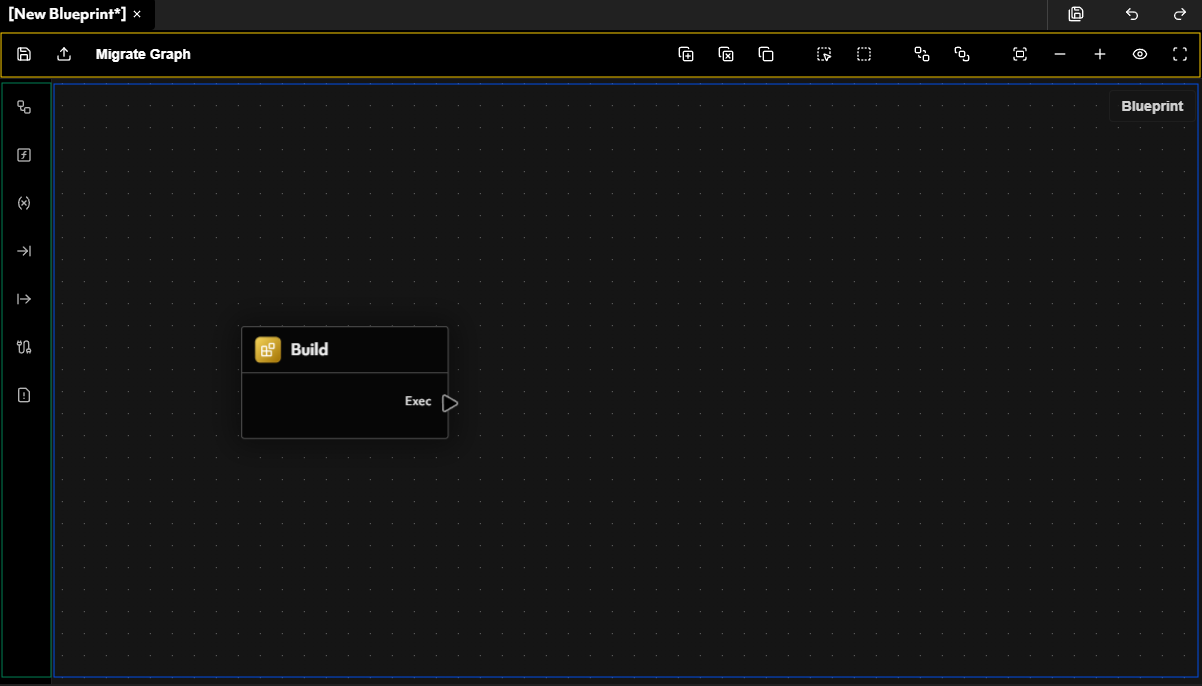
Blueprint Viewport
The Blueprint Viewport is the main workspace where users can arrange, connect, and manipulate nodes to define the logic of a blueprint. This visual interface allows for an intuitive, code-free method of scripting functionality, making it accessible to both technical and non-technical users. Viewport Interaction & Navigation:- Move Viewport – Click and drag anywhere on the background to reposition the graph.
- Zoom In/Out – Use the scroll wheel to zoom in and out for better visibility of nodes.
- Pan – Hold right-click while dragging to pan across the viewport.
- Multi-Select Nodes – Hold left-click and drag to create a selection box around multiple nodes.
- Right-Click Context Menu – Right-clicking in an empty area opens a context menu, allowing users to add new nodes.
Viewport Controls Section
The Viewport Controls Section is a toolbar located above the Blueprint Viewport, providing a set of essential tools mainly to manage the viewport. From left to right, the toolbar includes the following functionalities:- Save Blueprint – Saves the current Blueprint.
- Export Blueprint – Compiles the Blueprint into a runtime-ready format.
- Create Node – Opens the node selection menu to add new nodes to the Blueprint.
- Delete Nodes – Removes selected nodes from the Blueprint.
- Duplicate Nodes – Creates a copy of the selected nodes.
- Select All Nodes – Highlights all nodes in the current Blueprint.
- Box Select Tool – Allows for rectangular selection of multiple nodes.
- Send Node Back/Forward – Adjusts node layering for better visual organization.
- Fit Viewport – Centers all nodes within the viewport.
- Adjust Zoom – Manually set zoom levels for precision adjustments.
- Reset Zoom – Resets the zoom to the default level.
Blueprint Inspector
The Blueprint Inspector is located on the right side of the Blueprint Editor and provides detailed configuration options for the selected Blueprint. It allows users to manage core Blueprint properties, define variables, and inspect potential issues. The Blueprint Inspector contains the following configurable sections:- Macros – Define reusable macros that can be leveraged within the Blueprint graph.
- Functions – Create and manage functions, allowing for structured, reusable logic within the Blueprint.
- Blueprint Variables – Manage private variables, which are accessible only within the current Blueprint.
- Blueprint Inputs – Define public inputs, allowing external sources (such as Blueprint Instances, other Blueprints or Interpreters) to pass values into the Blueprint.
- Blueprint Outputs – Define output values, allowing the Blueprint to return results to its caller.
- Instances – Manage and create Blueprint Instances that reference the current Blueprint.
- Issues – View any errors, warnings, or validation messages related to the Blueprint structure.
The Blueprint Instance Editor Tab
The Blueprint Instance Editor Tab is where Blueprint Instances are defined, allowing users to provide custom values for the input parameters of a target Blueprint. While Blueprints define the core logic and structure, Blueprint Instances dictate how that logic is executed by specifying parameter values unique to each instance. This tab is structured similarly to the Blueprint Editor Tab and consists of three primary sections:- Blueprint Viewport (Blue)
- Viewport Controls Section (Yellow)
- Instance Inspector (Green)

Blueprint Viewport
The Blueprint Viewport in the Instance Editor Tab allows users to view the structure of the target Blueprint but does not permit direct modifications. Instead, this section provides visual context, allowing users to inspect how the Blueprint functions while configuring its instance-specific overrides.Viewport Controls Section
Similar to the Blueprint’s Viewport Controls Section, this section allows users to:- Save Instance – Saves all changes made to the Blueprint Instance.
- Export Instance – Compiles the instance into a deployable format, ensuring it can be utilized in an experience.
- Adjust Viewport Zoom – Allows users to zoom in/out and reset zoom levels for a clearer view of the associated Blueprint.
Instance Inspector
The Instance Inspector is the core configuration panel for Blueprint Instances. It allows users to define how input parameters in the Blueprint should be filled, effectively determining the specific execution behavior of the instance. This section consists of two primary categories: Target Blueprint- Displays the Blueprint that this instance is based on.
- Allows users to change the target Blueprint, swapping which logic is being executed.
- Provides a quick link to open and edit the associated Blueprint if modifications are required.
- Lists all exposed input parameters from the target Blueprint.
- Allows users to provide custom values for each parameter, defining unique instance-specific configurations.
Exporting UBF Bundles
Exporting from UBF Studio is an important step in preparing UBF artifacts for use in an experience. This process compiles Blueprints, Blueprint Instances, and referenced resources into a structured format that can be efficiently consumed by an interpreter at runtime. Attempting to export a Blueprint or Blueprint Instance from UBF Studio will open the Export Window. In this window, you are presented with several options for configuring how your artifacts will be bundled and outputted.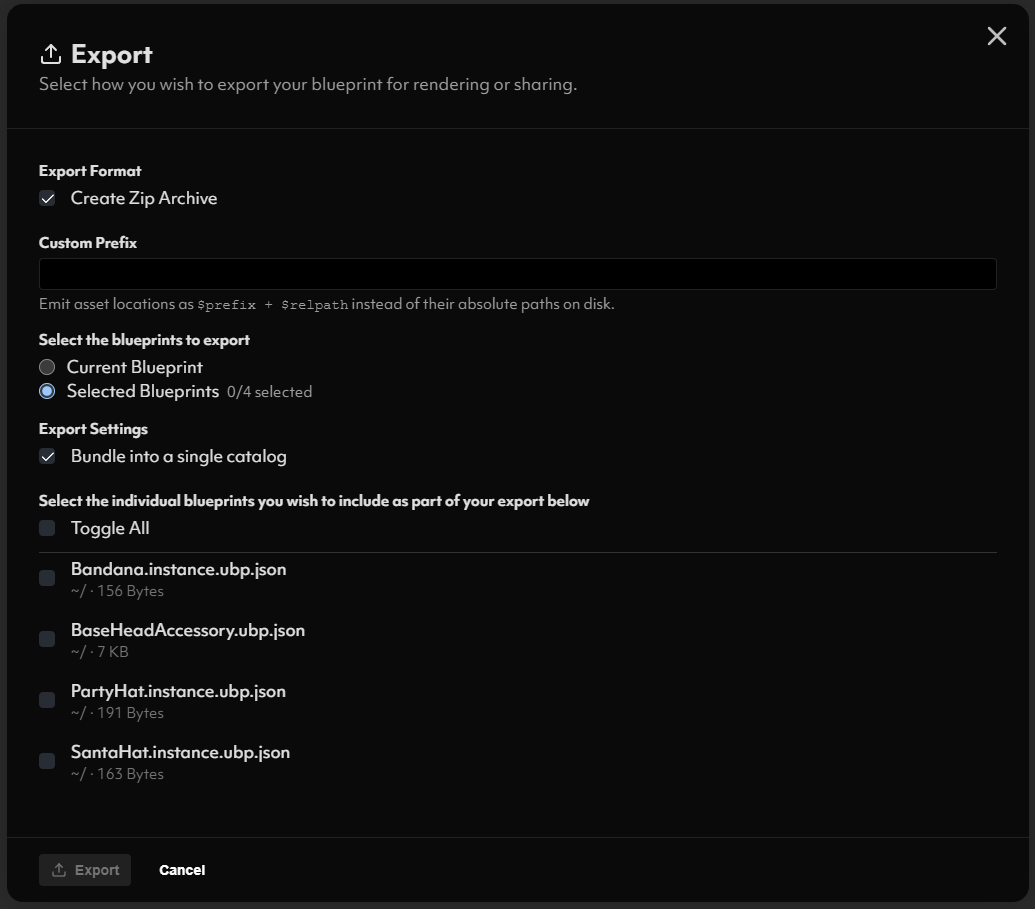
Export Format
Selecting ‘Create Zip Archive’ option will package all exported artifacts into a single ZIP file, making it easier to distribute or transfer assets. If unchecked, artifacts will be exported as individual folders and files instead of a compressed archive.Custom Prefix
This allows you to manipulate the generated artifact catalog(s) to use a custom-defined prefix for file locations. The prefix is applied relative to the project’s internal file structure and is useful when publishing artifacts (covered in a later section).Export Scope
You can choose to export:- The currently selected blueprint or instance.
- A subset of multiple blueprints/instances from within the project.
- Single Artifact Catalog – All referenced resources and blueprints are bundled into one unified catalog.
- Per-Blueprint/Instance Catalogs – Each selected blueprint or instance gets its own separate artifact catalog, allowing for modular organization.
.export. This contains all the compiled artifacts in the selected structure, ready to be tested, published, or integrated into an experience.